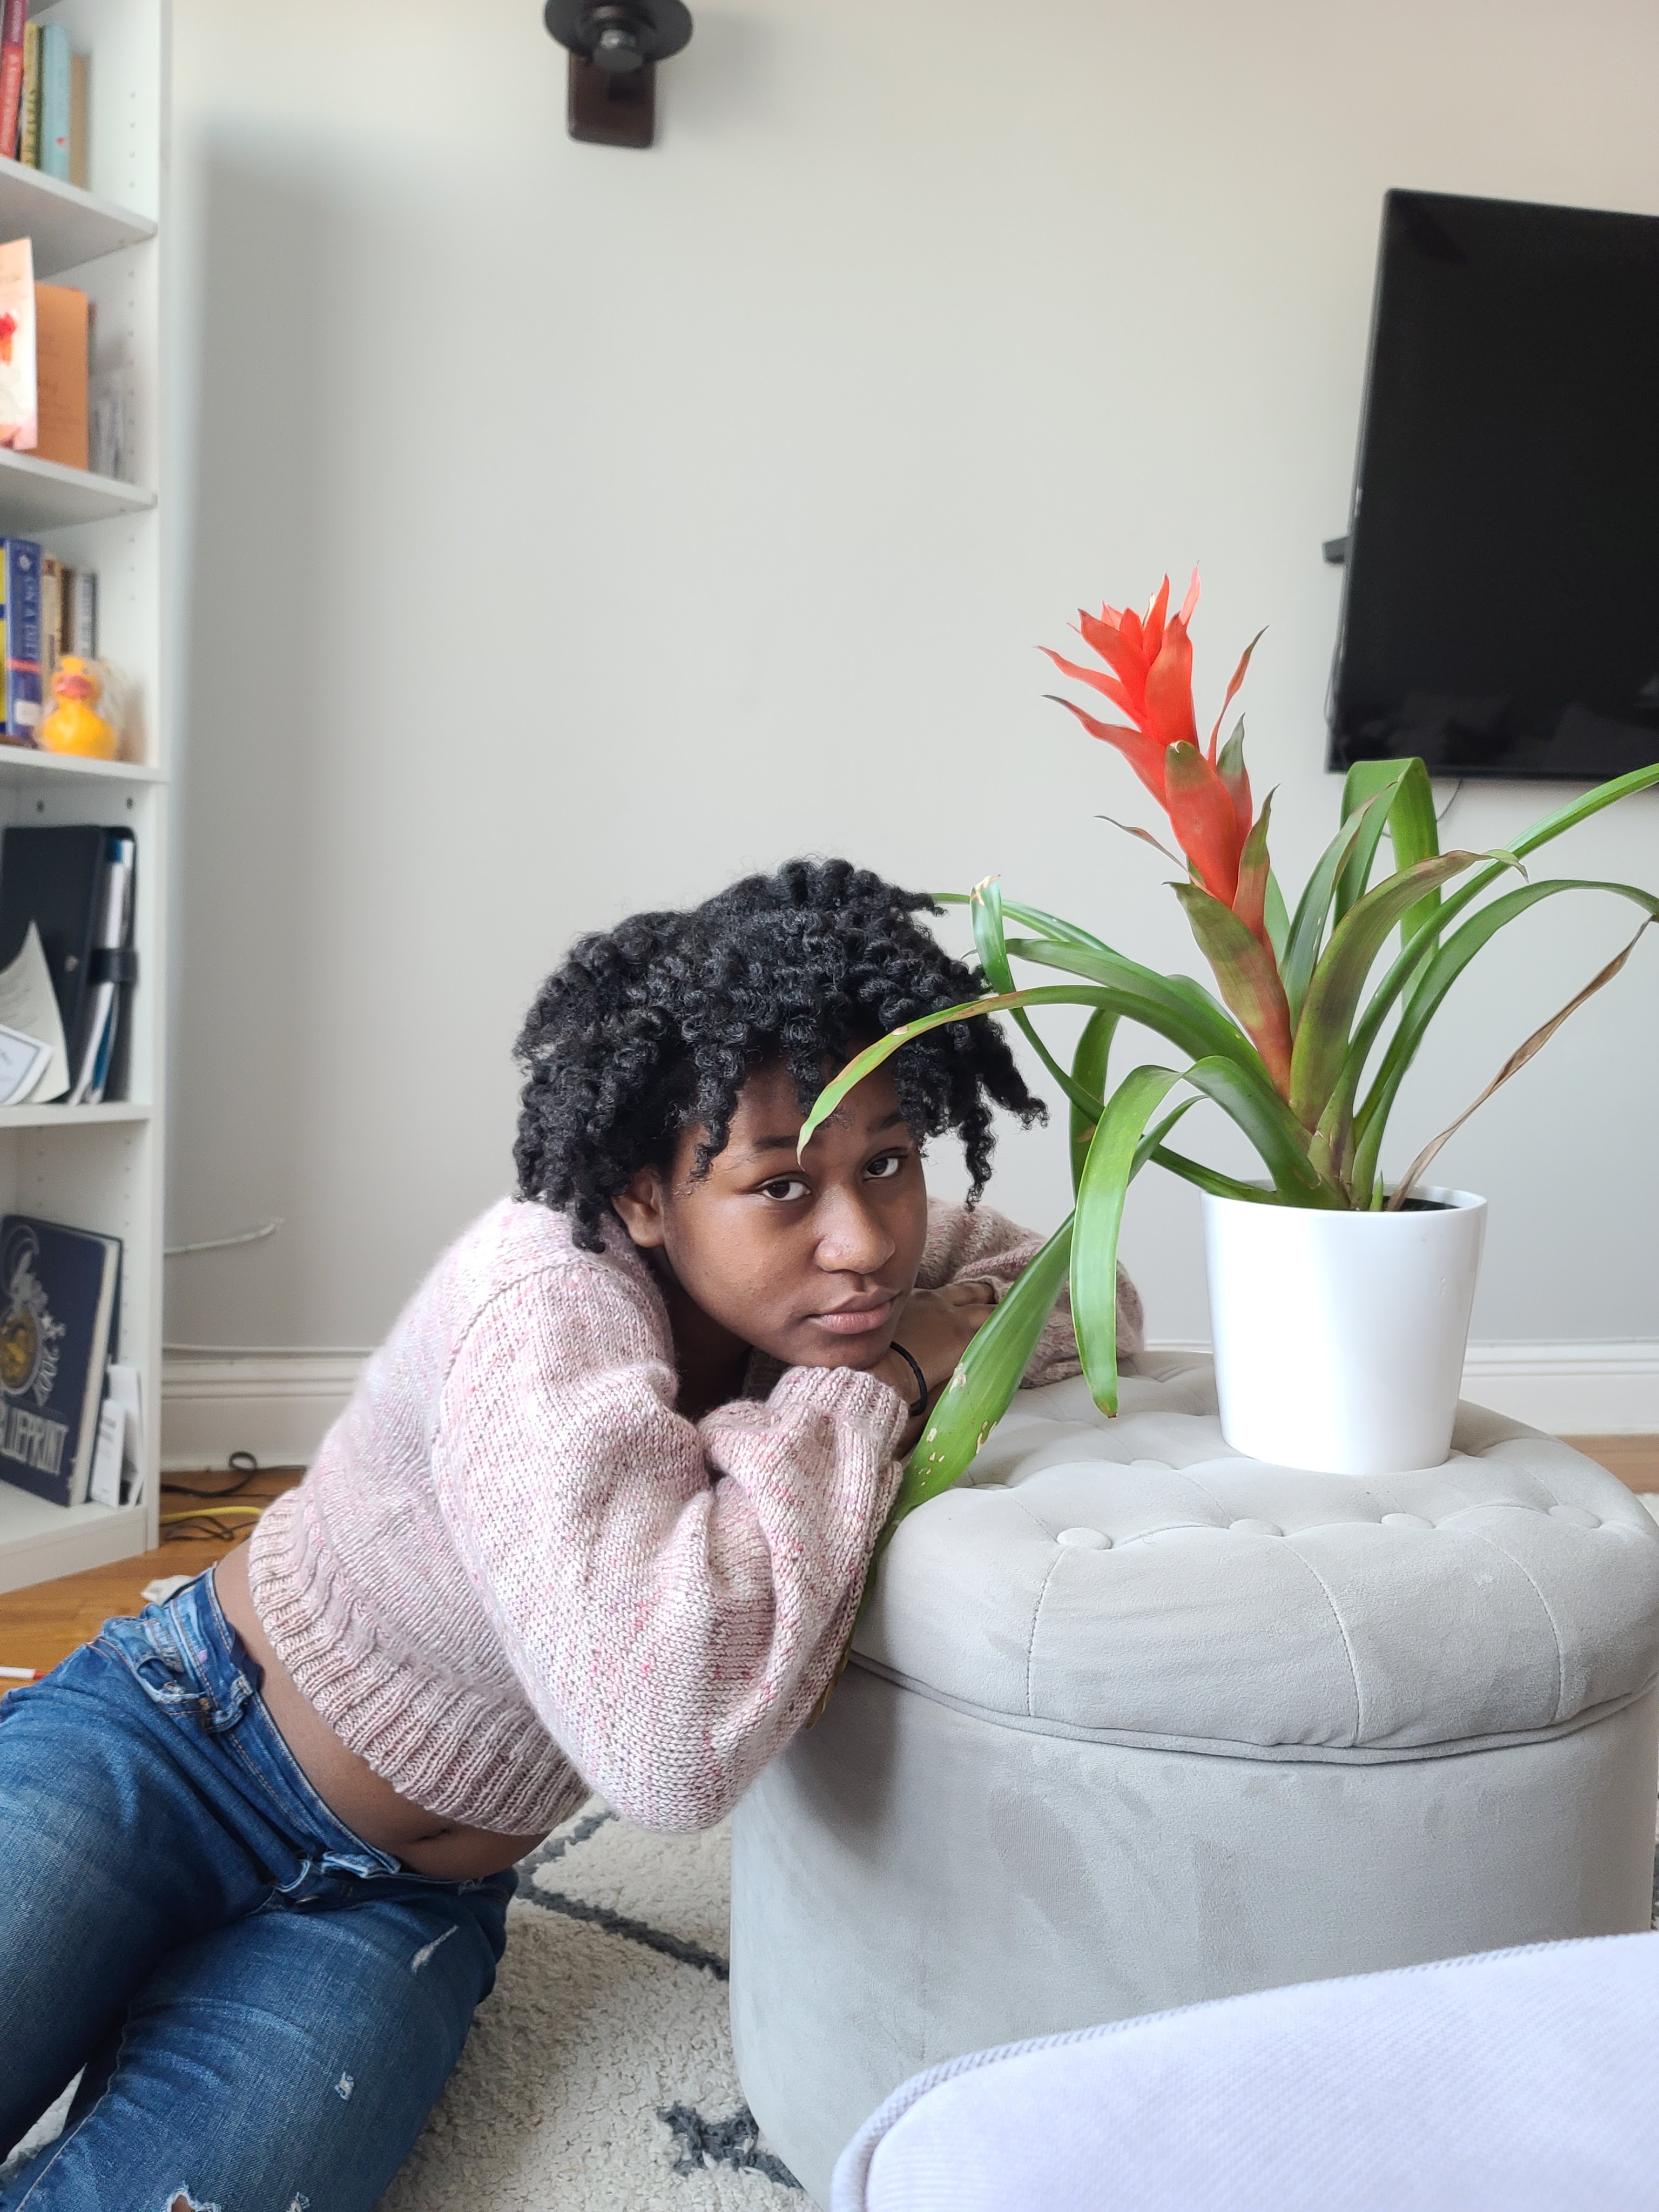
It’s that time in a project where I wrap up how it all went down. That’s right, I finally completed the Bubble V Crop! This sweater is designed by Jessie Maed; link to her pattern here: https://ravel.me/bubble-v-crop.
bjk

I have to say, I was in Frogging City with this sweater. I started it all the way back in AUGUST of last year! I promise you, the sweater is not that difficult at all, but being the picky and experimental knitter that I am, I was playing around with the stitch count and sleeve design. I made constant revisions, the most critical of which resulting in me making a too small sweater for me-but perfect for my sister. I recorded voice notes every time I made a significant change, and I also updated my project notebook on Ravelry every time I messed up or had a success (link for Ravelry users here: https://www.ravelry.com/projects/JaedeaRosalina/bubble-v-crop). I’ll give you the struggle and success highlights here as well:
Mock ups

Creating a small mock up gives you an idea of how the sweater will be shaped. I decided to create an American Girl – doll sized version (It ended up too small for the doll, which should have been a warning sign for me that my ratio measurements were off😅). I noted that the sweater was straining to fit on the dolls back; later on in the project, the sweater stretched too much over my chest, but looked baggy in the back. I reduced the back the next time around, but I should have added those decreased stitches to the front to account for bust.
I never did short rows before (this pattern used German short rows for the shoulder), so this gave me a chance to practice this skill and understand why it is necessary. By making the mock up, I saw that the purpose of the short row was to create a slant.
By now, you know I have the tendency to go off-script for patterns. By practicing on a smaller scale, it allows me to make these major mistakes and play around with the design to ensure I’m satisfied with it. I also don’t have to dedicate too much yarn and time to the project-I just use leftover scraps from previous projects.
Cast On’s & Sizing

In the beginning, I was struggling a lot with the size of the sweater. My cast ons looked way too big, and I found myself going down a size with every attempt. I did several ratios to come to a size I was satisfied with. However, I committed a fatal rookie mistake: judging the size of the sweater by the size of the cast on. See, if you’re someone with tight tension like me, you SHOULDN’T judge the sizing of the sweater by the initial cast on length. The reason being, as you start up your piece, it slowly starts to shrink. A cast on that looked a bit baggy eventually becomes skin tight as you work up your ribbing. I also didn’t notice at first how the stockinette stitches were stretching on my frame as a result of not having enough stitches to work with. Luckily, I realized this before I committed to wearing it. Fortunately, my younger sister has a similar frame to me, albeit smaller, so while it looked stretched out on me, it was perfect for her.
Design Elements
When I got to the arms of the sweater, I ran into a dilemma. The armholes seemed massive to me, and I thought it would look really unappealing being that baggy. I made the decision to seam up some of the armhole space to make it smaller. This of course, results in a less baggy arm.
I messed around with increases and decreases for the sleeve body as well. I was toying with the idea of actually just having a bell shoulder, and the rest knit close to the body, but I ended up frogging that and following the original design. I don’t consider that a waste though, because it allowed me to experiment with how to create ruching for sleeves, which I may incorporate in future patterns of mine.
I also was stuck on the arm cuff design. The original pattern had a long cuff design that I liked, but my sister hated. I played around with making it cinched from elbow down, but I ran into some issues with the decrease method used and my tension when knitting the cuff in the round. I ended up modifying the decreases to be more gradual over three rows, and I decided to knit the cuff flat, which helped my tension issues. I also reduced the length severely to suit my sister’s tastes. I left a 10 inch tail to seam it closed afterwards, making sure to seam it from the inside.

Yarn Durability Because I frogged my sweater several times, I got to see how the yarn I was using worked up and changed with each frog. I used Neighborhood Fiber Co.’s Capital Luxury Sport in the Limited Edition Colorway Mulberry Street. This yarn gets a fuzzy halo when frogged a few times. It is a nice side effect, and the integrity of the yarn wasn’t damaged. However, I did have to pick off bits that were too long. I saved all of it (It fit an Ice Breakers gum container pretty well), and I will use it for stuffing in future amigurumi projects.
Blocking
As of yet, I have not blocked, but I will update you when I do so here! Check back within a month’s time.
Conclusion
Knitting this sweater was a wonderful experience. Yes, I did go through several trials and tribulations (due to my fiddling around😅), but I picked up a slew of skills along the way, and picked up fantastic garment shaping skills that I am excited to use for future projects. I also made a beautiful sweater that happened to fit my sister’s fashion sense well. It is size inclusive up to 5x and easy to size up or down further if you know how to properly ratio stitches. I definitely recommend this pattern to anyone who’s a fan of bell sleeves and wants some pizazz in their wardrobe!
