A few years back, I knitted my first scarf using the Double Stockinette stitch. I was amazed by the clever simplicity of the stitch; how easily it created two layers of fabric with only one strand of yarn. After knitting that scarf, I pushed that pattern to the back of my mind. However, I recently completed a hat with the same stitch, and man, did I struggle. Not only was I not following a written/filmed pattern, the stitch in and of itself had a meager internet presence. There was NOTHING on how to increase/decrease for this stitch. Now, I don’t know if this stitch has been explored front to back in older knitting books, but for the younger generation of knitters, I think it would be nice if there was an online one stop shop to learn all about it. That’s the aim of this blog post.
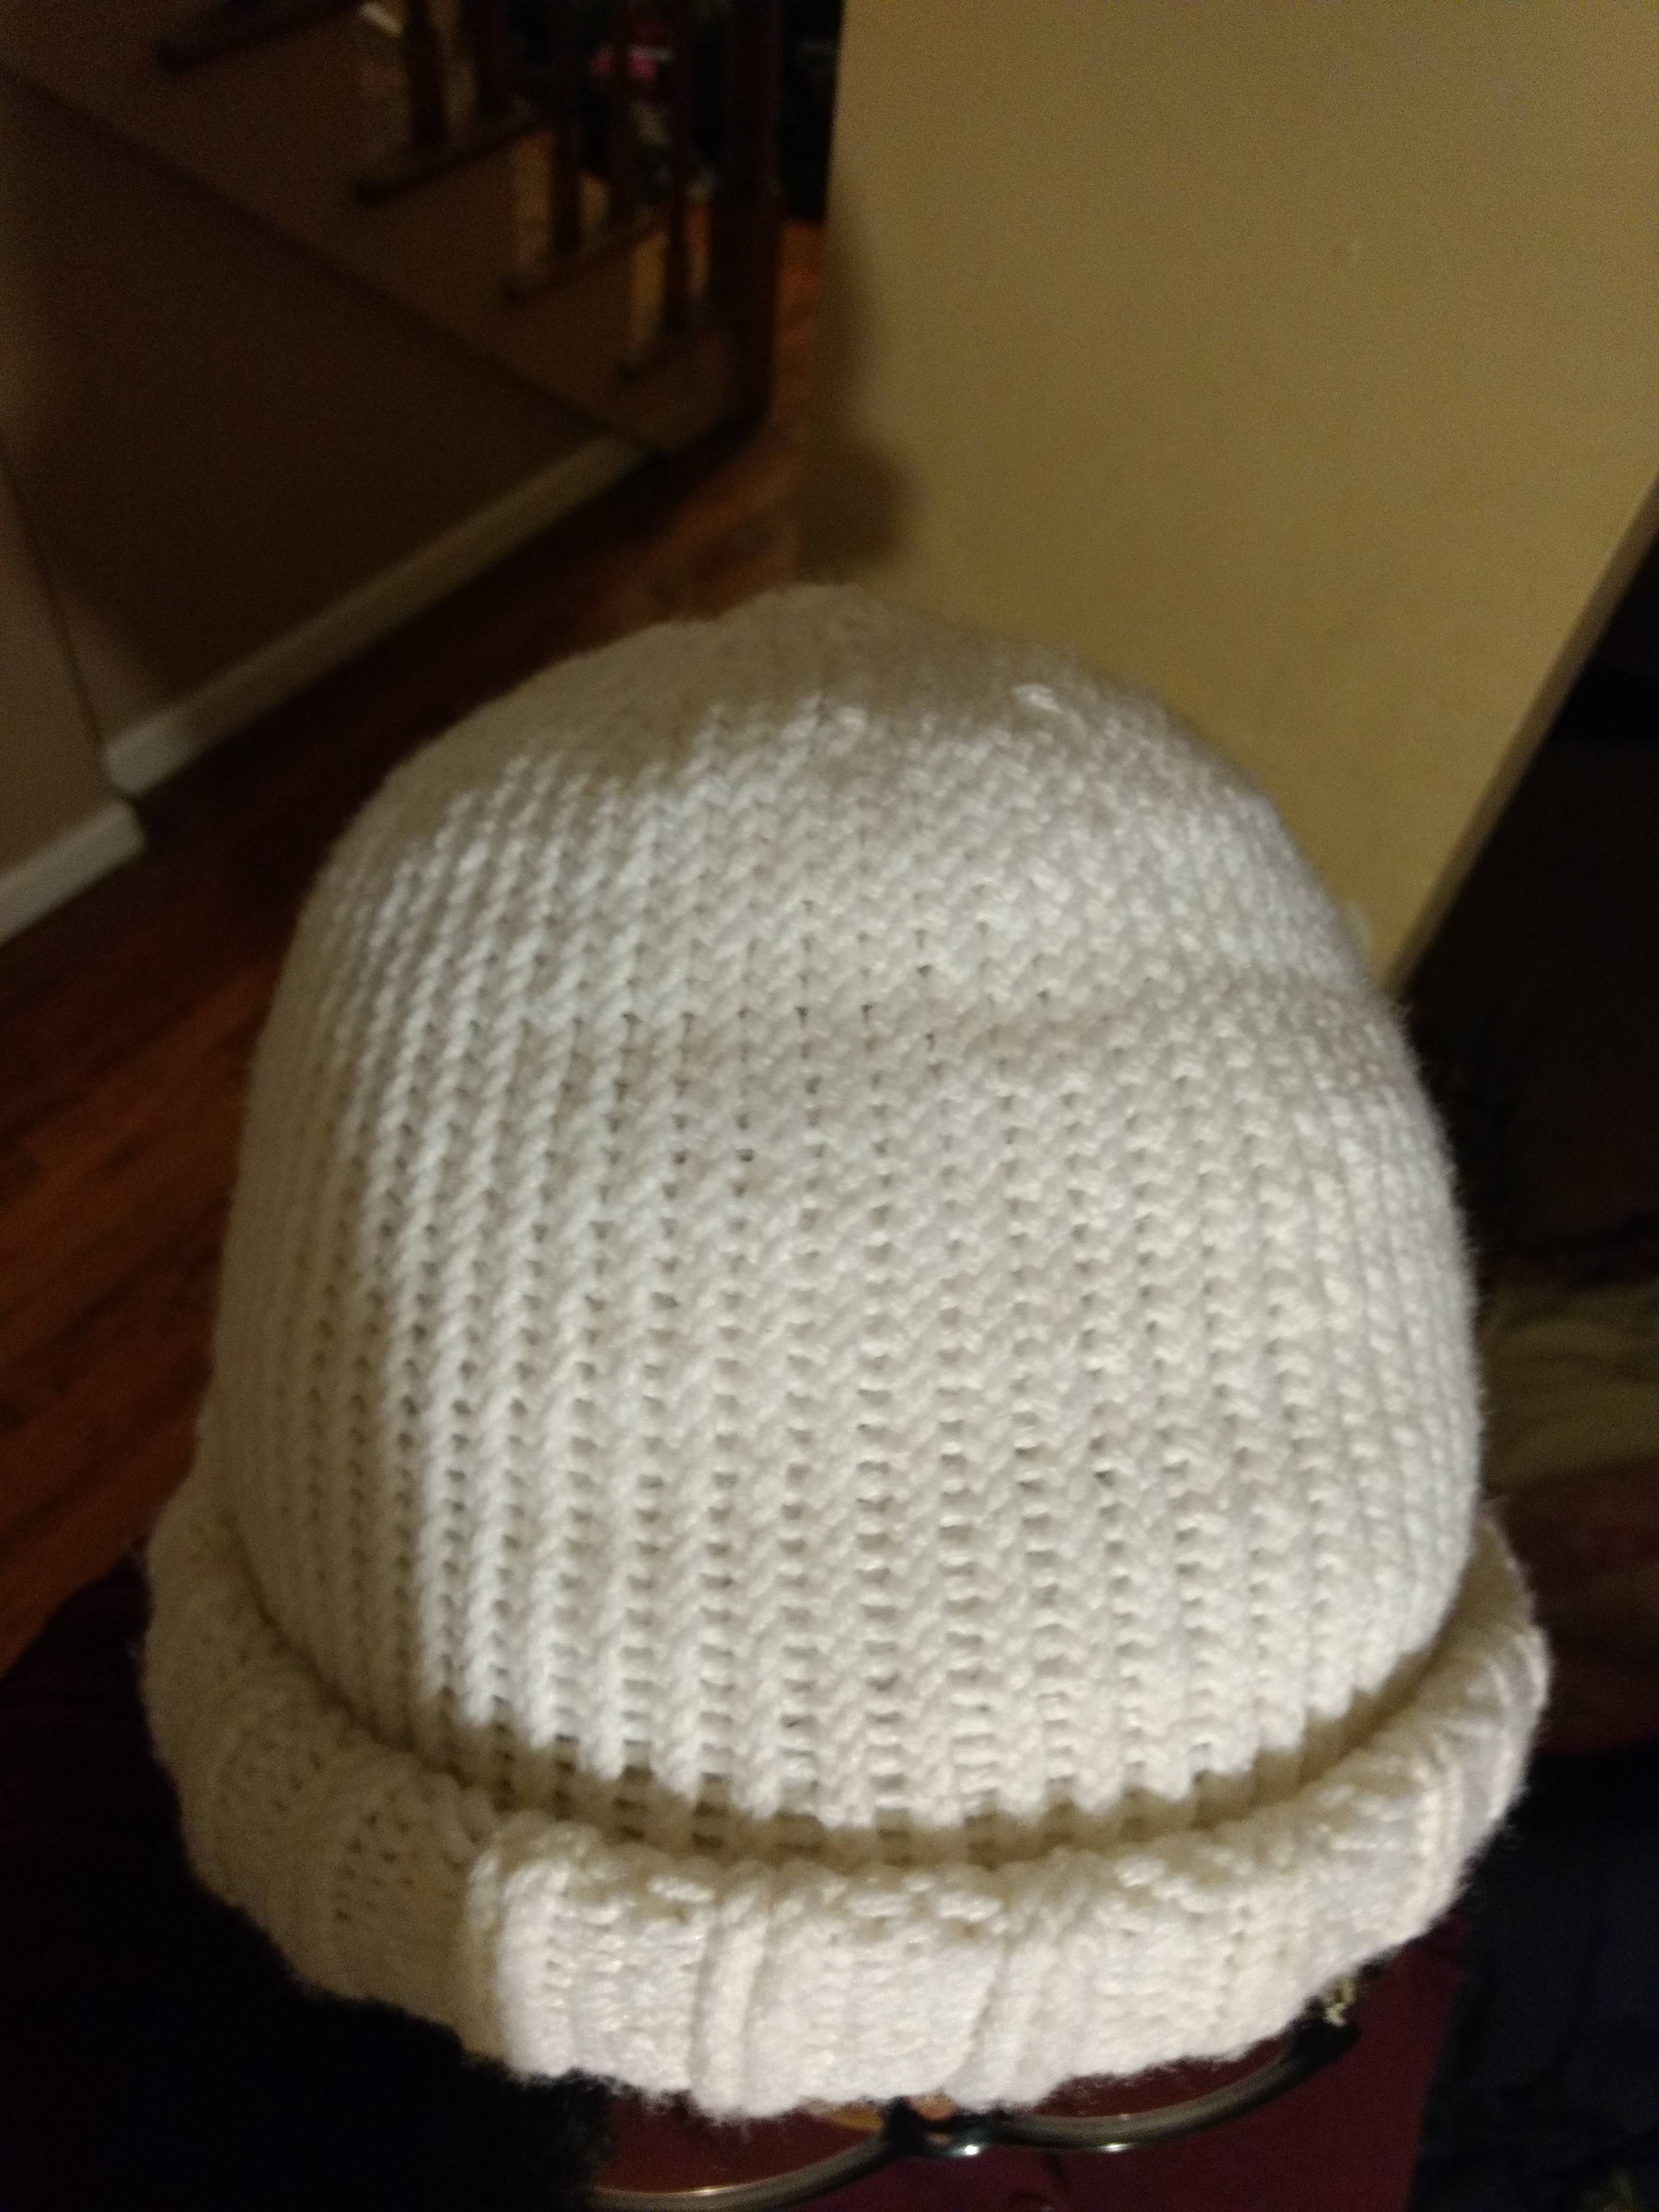

These are the projects I’ve made using double stockinette stitch.
Let’s start off with the basics. I am working using Continental terms.
Double Stockinette is a variation of k1p1 (knit one, purl 1). To complete this stitch, you begin by k1. After you knit 1 stitch, you push your working yarn to the front as if you were going to purl. Instead of purling, however, you slip the next stitch onto your needle. After, you move your working yarn back as if to knit, and knit the next stitch. In short:
*k1, push yarn to front purl wise, Sl1 pwise*, cont. til end.
The positioning of the yarn when constructing this stitch is absolutely essential. If you don’t move your yarn to the front every time you slip the stitch, it will not create the double layers (to my knowledge). You also must follow this pattern precisely. If you k2 by accident and continue as normal, you will throw off the whole pattern, and the rows after will not look anything like the rows before.This stitch also cannot be worked in the round (I’ve tried). It must be worked row by row, right to left.
So, you have a stitch that’s very particular about how it wants to be worked up. Obviously, you will run across some problems when working on any project that requires shaping. The usual ssk or ssp will not work in this instance. In order to increase or decrease on this stitch, you need to first separate the layers.
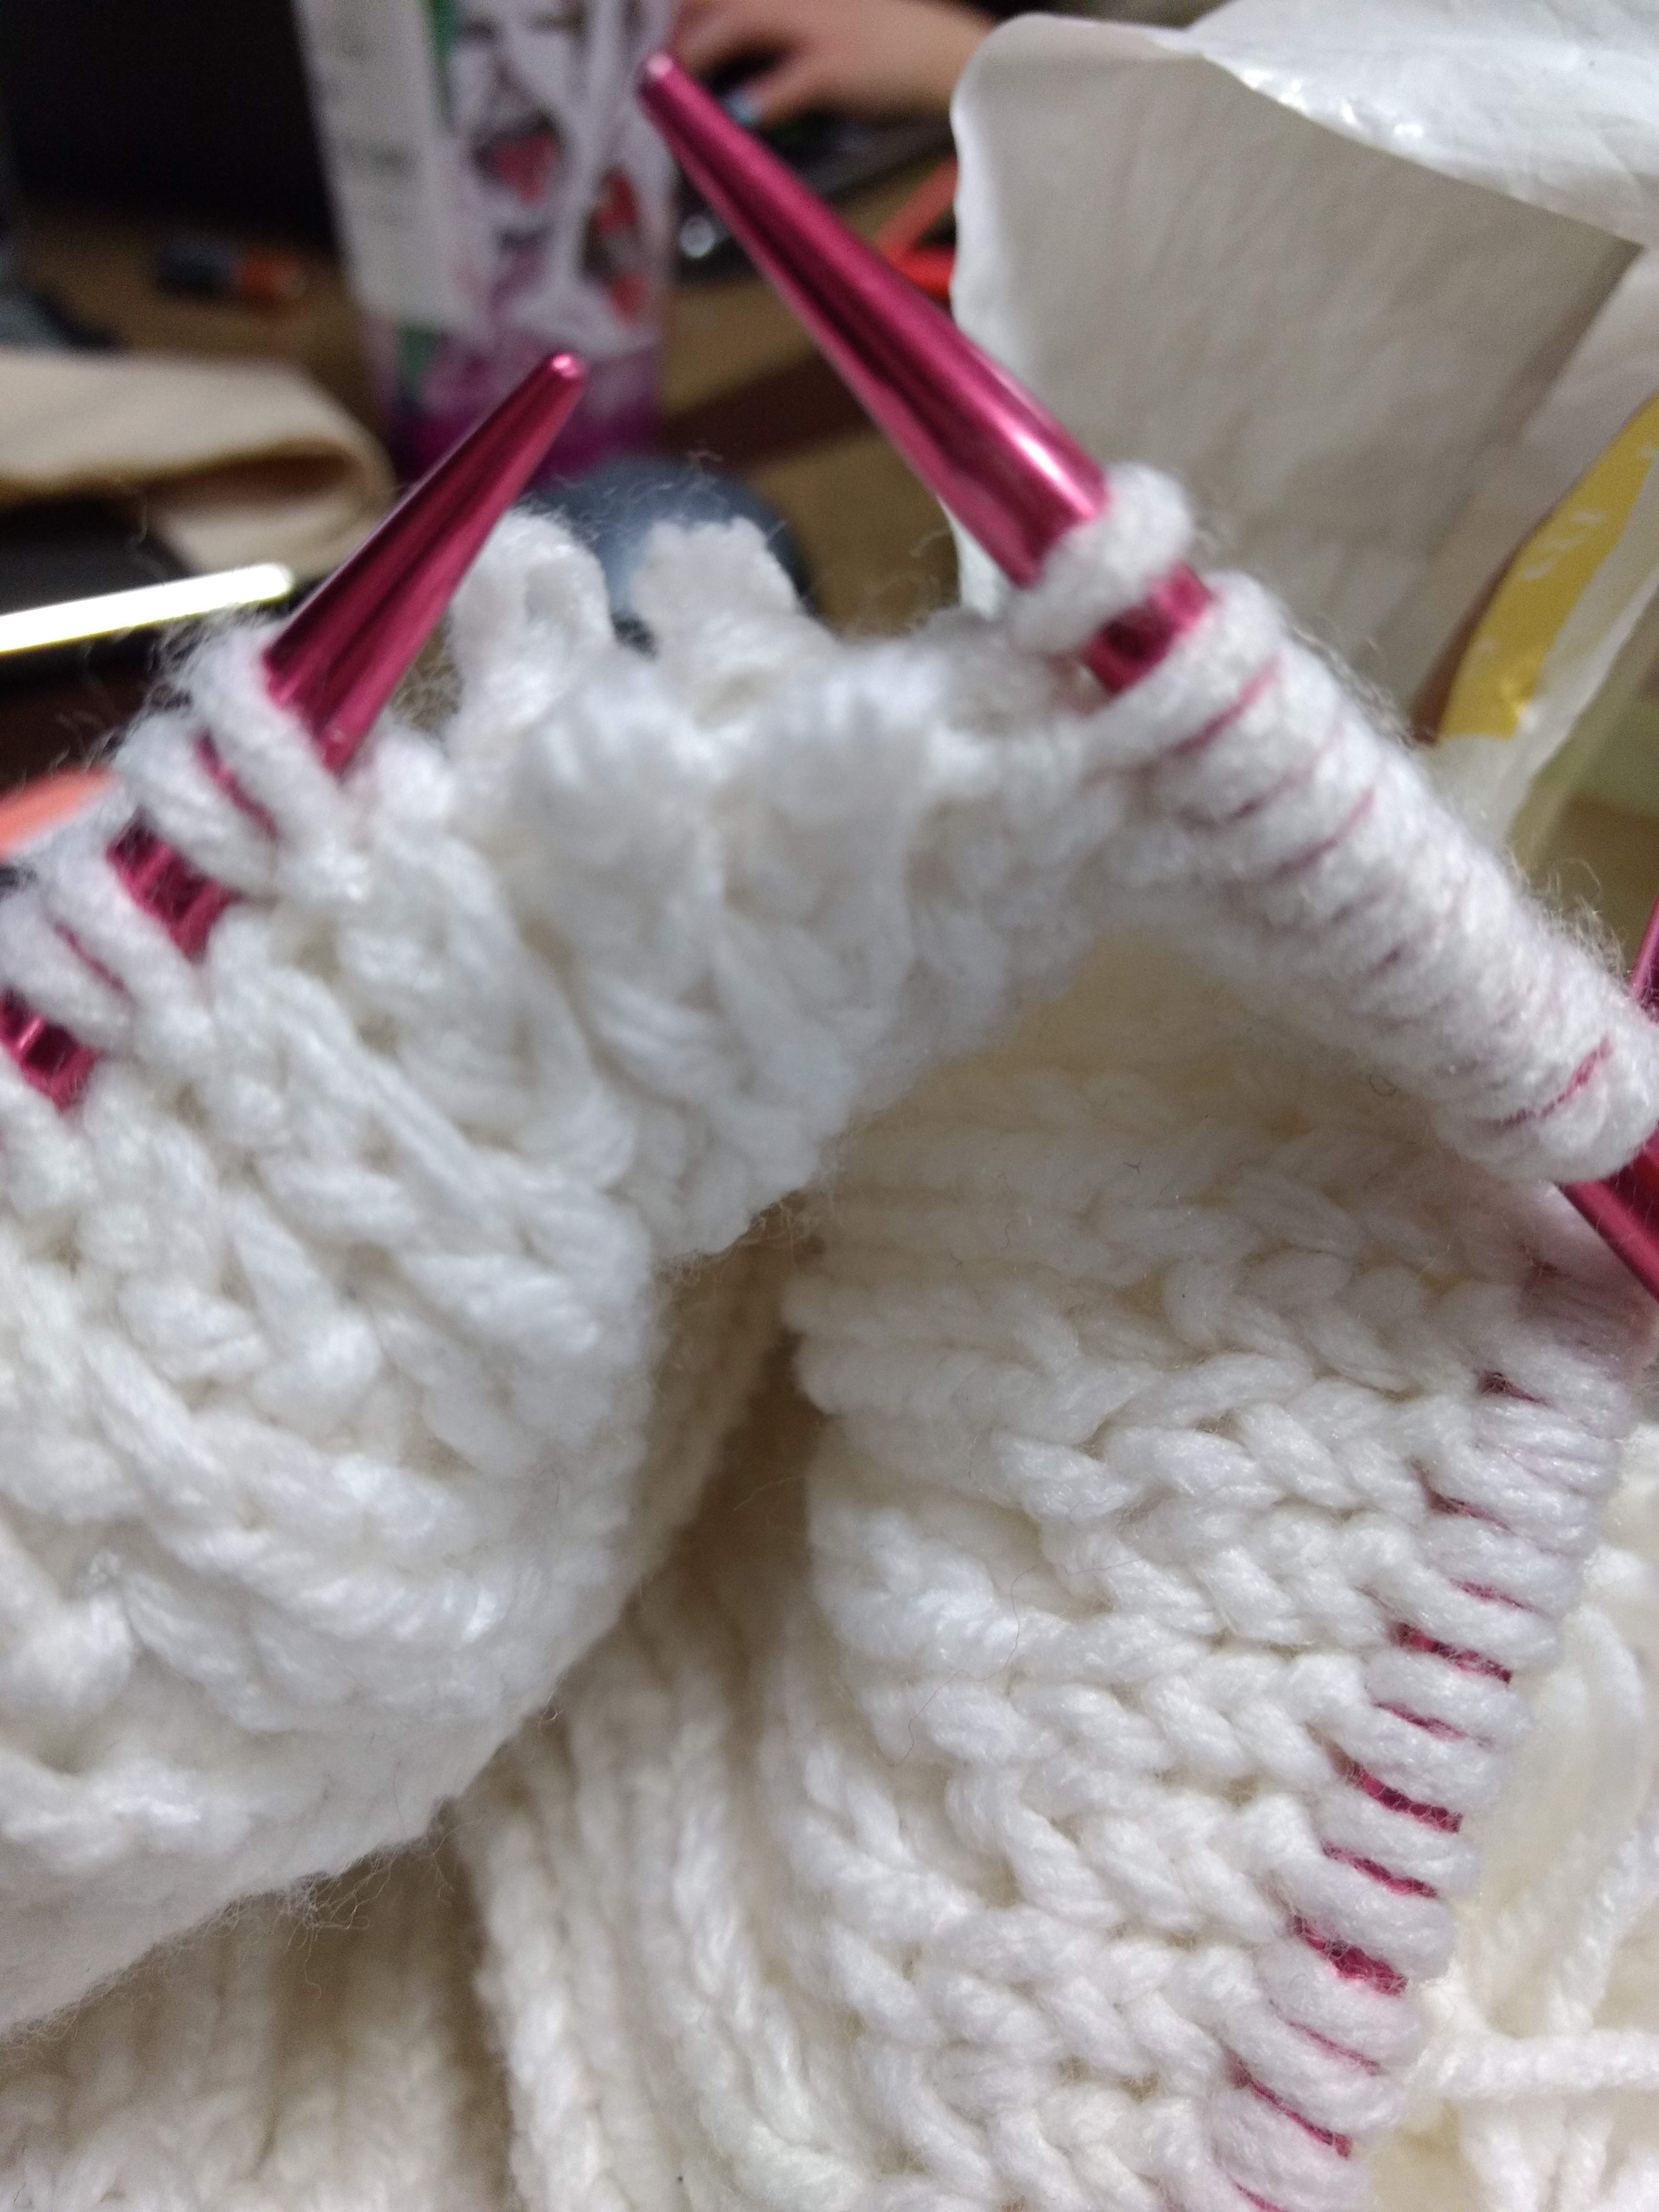
Above, you’ll see the hat when it was first being made. In that picture, I took four stitches off my needle. When you take an even number of stitches out, they naturally pair up together. The k1 stitches of the current side are in the front. The *yarn in front, sl1 purl wise*stitch is in the back. Understand that by slipping one purlwise on one row, you will knit that stitch in the next row. The design of this stitch means that this piece works up a bit slower than other stitches-you’re basically playing a never ending game of Catch Up with the stitches. This also means that this stitch will ‘eat up’ your beginning stitches. If you knit 60 stitches, they will be divided among the two layers. So when working this stitch, you need to double the amount of stitches you cast on.
Now, on to the part you were all waiting for: how to increase/decrease with this stitch. It’s quite easy, once you realize that you are knitting two pieces of cloth at once.
First, the decrease:
- Slip off your stitches in multiples of 4. They should naturally group up together, as shown in the photograph above. I find using cabling needles to be of great help.
- Slip one of the stitches over the other stitch. So if I moved two of the front facing stitches onto a cabling needle, I will pick up a knitting needle and slip one stitch over the other. Whether you choose to slip the stitch on the left over the one on the right or vice-versa is your choice as to how you want the decrease to lean.
- Turn your work around to focus on the knit stitches at the back of your work. Repeat step 2.
- Turn your work back to the working side. If you slipped off 4 stitches in the beginning, you now have 2. Slip the stitches back onto your needles, making sure that the newly decreased stitches still follow the k1, *move yarn purlwise and sl1 pwise* pattern as before.
Now the increase:
- Same as step one for decreasing.
- Conduct a M1L/M1F (Make one left/ Make one front) increase. First, identify the two knit stitches facing you on the working side of your piece. Look in between these two stitches. You will see a strand of yarn between them; this is the yarn that is connected to these current stitches. Insert your left needle underneath this strand, and pull slightly up. Insert your right needle knitwise into this strand, and knit one stitch. After, remove your left needle from this strand. You now have an extra stitch.
- Turn your work around to focus on the knit stitches at the back of your work. Repeat step 2
- Turn your work back to the working side. If you slipped off 4 stitches in the beginning, you now have 6. Slip the stitches back onto your needles, making sure that the newly decreased stitches still follow the K1, *move yarn purlwise and sl1* pattern as before.
And there you have it! Now, some of you may be wondering why I chose the Increases/Decreases that I did. I chose them based on how obvious it would look once the piece is complete. I personally hate seeing holes in my work, unless its a lacy/loose knitted project. I also want to add that when I was doing the decreases for this hat, I worked from the tail end to the working end of the project. I also did the decreases before working on the next row. This means I put the working needles down, went to the tail end of the work, and started slipping off stitches to make my decreases.
Feel free to try this stitch, and shoot me a comment if you have tips, or something’s not quite working out!
P.S.: I’m thinking about posting a video explaining this stitch. However, I don’t really have HD filming equipment. If I do get around to posting it, I apologize in advance for the poor quality, though I’ll try my best to make it as clear as possible.
Edit : A kind reader (who I’ll refer to by T) has told me that there was a way to work this stitch in the round. I will paste his instructions below:
“I also noticed that you say that double stockinette can’t be worked in the round, but that’s not true. It can. I’ve done it. On alternating rounds you purl instead of knitting and slip the stitches with the yarn in back. It definitely produces double stockinette, and that makes sense, because in the round you’re working the same side of the fabric (you never turn it).”
I have tried it out to no success. However, if any reader is able to succeed in this method, please feel free to reach out to me. I would love to share your methods and give you credit for it.
